
How to Make a Jersey Mockup (Without Photoshop)
Turn a finished jersey design into a realistic mockup: file prep, placement, lighting, resolution and the mistakes that make mockups look fake.
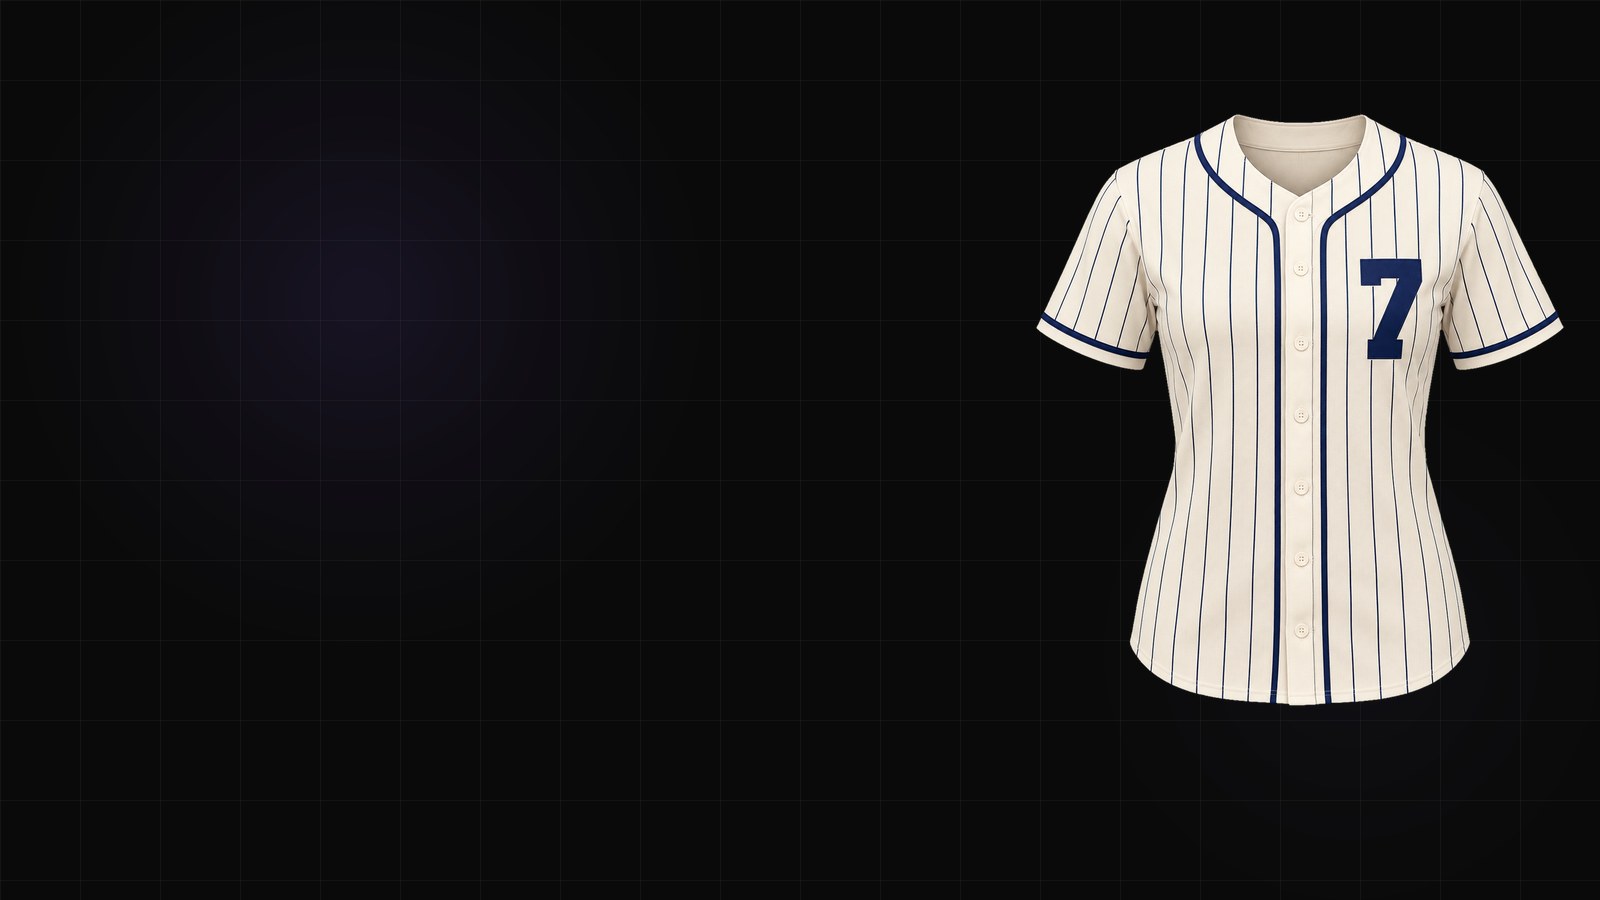
A jersey mockup is the picture you show before anything is printed: the design on a real shirt, with folds, shadows and a background. It is the difference between “here is a flat file” and “here is the kit.”
You do not need Photoshop. You need the right artwork, the right template, and a few production habits.
1. Prepare the artwork
Start with the cleanest version of the design:
- Transparent PNG or SVG — no white box around the logo.
- At least 2000 px on the long edge for a web mockup; more if you will crop.
- Flat colors — gradients and tiny textures often disappear when scaled down.
If your design lives in layers, export the flat version for the mockup and keep the layered file for edits.
2. Choose the right jersey template
A mockup is only convincing if the template matches the garment:
- Soccer — short sleeves, a collar or crew neck, a clean hem.
- Basketball — sleeveless, deeper armholes, a longer body.
- Baseball — button front, raglan sleeves, pinstripes.
- Football — shoulder numbers, mesh texture, sleeve stripes.
- Hockey — long sleeves, lace collar, a nameplate.
Using a soccer template for a hockey sweater is the fastest way to make a mockup look wrong, even if the colors are perfect.
3. Place the design, then match the light
Placement is geometric; lighting is what sells it.
- Put the crest on the left chest and the sponsor on the center chest.
- Keep the number centered on the front and back.
- Match the template's light direction. If the light comes from the upper left, do not add a highlight on the lower right.
- Use a soft shadow under the collar and sleeves; a hard drop shadow looks like a sticker.
4. Respect resolution and format
For the web, export 2000 × 2000 px or larger. For print, 300 DPI at the final size. Use PNG for transparency; use JPG only when the background is solid and you need a smaller file.
5. Avoid the common mistakes
- Wrong proportions — a logo scaled to “look nice” can be twice the size of the printed mark.
- Flat lighting — a design pasted on a photo without matching shadows.
- Over-sharpening — halos around thin lines.
- Text on a curve — if the template has a fold, the text must follow it.
- Ignoring the back — most kits need a back view with name and number.
6. Use the mockup for the right job
A mockup is a presentation tool, not a production file. Send the printer the layered or vector file plus a flat PNG; send the buyer the mockup. The jersey mockup generator handles the presentation side, and the soccer, basketball and hockey pages have sport-specific templates.
If you are designing the kit from scratch, start with the jersey generator. If you already have artwork, upload it and skip straight to the mockup.